Airless HVLP Turbine Sprayers – A Where To Start Guide
We often get asked here at Airlesspro, what Airless HVLP Turbine Sprayers do we recommend, and what HVLP needle sizes to start with when considering the jump into airless HVLP spraying for the professional decorator. So, we thought it would be a great idea to create this Airless HVLP Turbine Sprayers – A Where To Start Guide for you all to follow to kickstart your Airless HVLP spraying journey.
First of all, let us just state that this is a broad guide to Airless HVLP Turbine Sprayers for the tradesman, and is by no means definate, or one size suits all. Every Airless painting job can throw up new challenges, so consider this the foundation to build on.
If you are a DIY user looking for economical Airless HVLP Turbine Sprayers for very occasional use, give us a call on 01522 688 811 and we can still help.
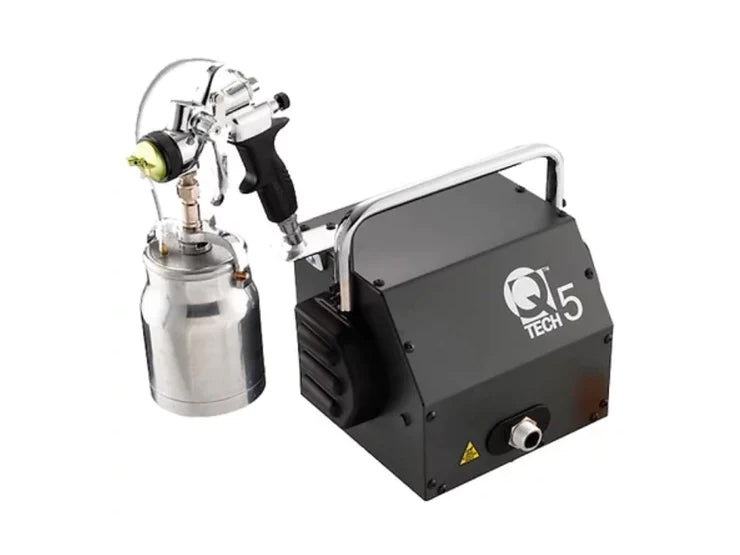
1:The Turbine unit
We recommend that you choose an Airless HVLP Turbine Spayer that puts out 5 PSI and upwards. This will give you the power that you need to get the right finish. Consider these machines that we stock: The Q-Tech T3 and the Apollo 1500 prospray.
2: The HVLP gun set up
Choose from one of the wide range Airless HVLP Turbine Sprayers whereby the HVLP gun that comes with the machine allows you to change the
needle set, in order to spray different paints/materials. Also ensure you know how to set the HVLP gun up correctly, in order to get a nice, consistent spray pattern with the correct fan width.
3: Popular needle sizes and what to use them for
Use a 0.8mm needle for thin Stains, Inks, Wood Dyes, Fence Life type products
1.0mm needles are best for thin Lacquers, thin Enamels, Automotive Finishes [Cellulose paints]
1.3mm needles are popular for Oil based paints [ Satin Wood, Gloss,Undercoat ]
1.8mm & 2.0mm needles work well for Acrylic based primers and water based
Gloss, Primer, Eggshell.
2.8mm needles are the best choice for water based products such as Emulsions, Chalk Paints eg Farrow and
Ball, Annie Sloan.
4: Get the timing right with a Viscosity Cup
It is essential to use a viscosity cup before adding any paint to you HVLP Turbine Spraygun pot. Use the one that either comes with the gun/unit, or try one of ours which can be purchased here. This will ensure the paint is correctly thinned and can pass through the gun and atomise correctly.
Our guide for the time taken for the material to pass through the visosity cup when using the materials described above:
An average of 18-20 seconds for needles 0.8 to 1.00mm
20 -25 seconds for 1.3mm
25 – 35 seconds for 2.0mm
35 second plus for 2.8 emulsions etc.
5. Keep it clean
Maintenance of the HVLP Spraygun should be a top priority if you want the best finish.
After every painting session, clean the HVLP Spraygun by firstly emptying the Spraygun pot. Then fill the pot half full with a mixture of Standard Thinners and water, turn the Turbine on and blow this mixture through the Spraygun into a suitable container until empty.
The next step is to remove gun from the Turbine Hose, remove the Cap, Needle and Air Nozzle, and thoughroughly clean these parts. Use Standard Thinners on a lint free cloth or paper towel to remove any last paint.
Hopefully now you will feel more comfortable with how to choose from the many Airless HVLP Turbine Sprayers, and what materials you can use it with. Once you have tried HVLP Airless spraying, you may never want to go back to the Brush!
We are always available to offer expert advice however, talk to us on 01522 688 811 during working hours, or get in touch here